Barcodes Guide
For customers using a spreadsheet and photos from a standalone camera to catalog an auction, barcodes are a convenient way of organizing photos so that when imported they are automatically associated with the correct item.
If you would prefer a video going over barcodes and imports, you may watch it here.
Generating Barcodes
Before cataloging, you must generate a set of barcodes. Some auctioneers will choose to create new barcodes for each auction. Auction information can be printed on the barcodes and affixed these to each item in the auction.
Some auctioneers print out a set of barcodes {onto traditional paper} that can be used for any auction and place them all in a book or binder rather than on labels {and affixed to items}. Catalogers can then simply take a picture of the relevant barcode out of their book before taking photos of the item.
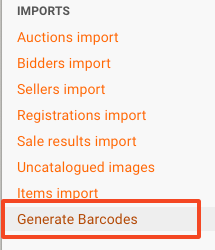
To create barcodes, navigate to your admin portal, and click on "Generate Barcodes."
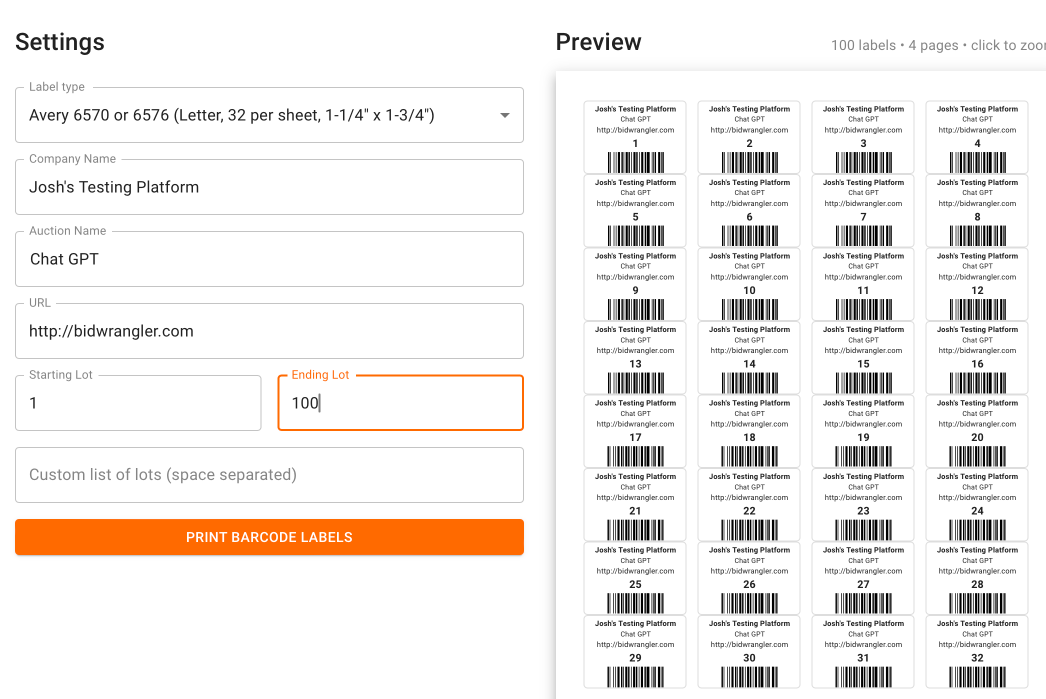
Label type and starting/ending lots are required fields, and you can choose to fill out the other fields if desired. A preview of your labels will be displayed on the right side of the screen.
Click on "Print Barcode Labels" and a PDF viewer will allow you to print for the label style you selected. You may want to print only one page to make sure they are fitting to the labels.
Print out the barcodes on labels or regular paper (if you're using a booklet). While there can be additional info on each barcode, the ONLY information stored in the barcode is the lot number. This allows you to reuse barcodes from auction to auction if you are using a notebook.
Taking Photos
When you take photos, simply take a photo of the barcode for the relevant lot, and then take all the pictures of that lot immediately after. When you're ready to move to the next item, take a picture of the next barcode and then the photos for that item. Continue to follow this procedure.
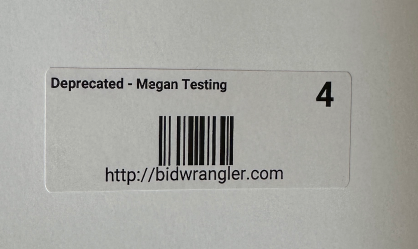
Make sure you take clear photos of the barcodes — here is an example of a good barcode photo:
When done taking photos, transfer these photos to your computer.
Importing Photos to an Auction
Photo importing is often done alongside or after an items import has been done. If you need information on how to create this spreadsheet, you can find more information here.
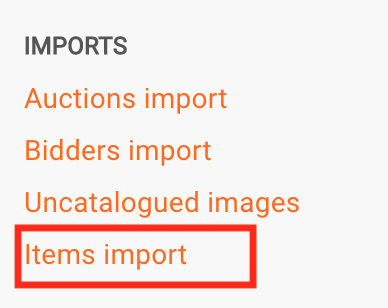
First, navigate to the admin portal and scroll down to the bottom and select "Items import".
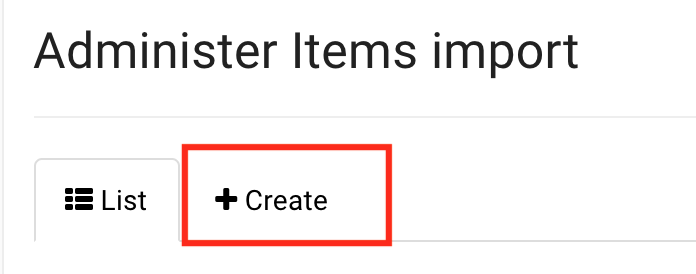
Click on "+ Create"
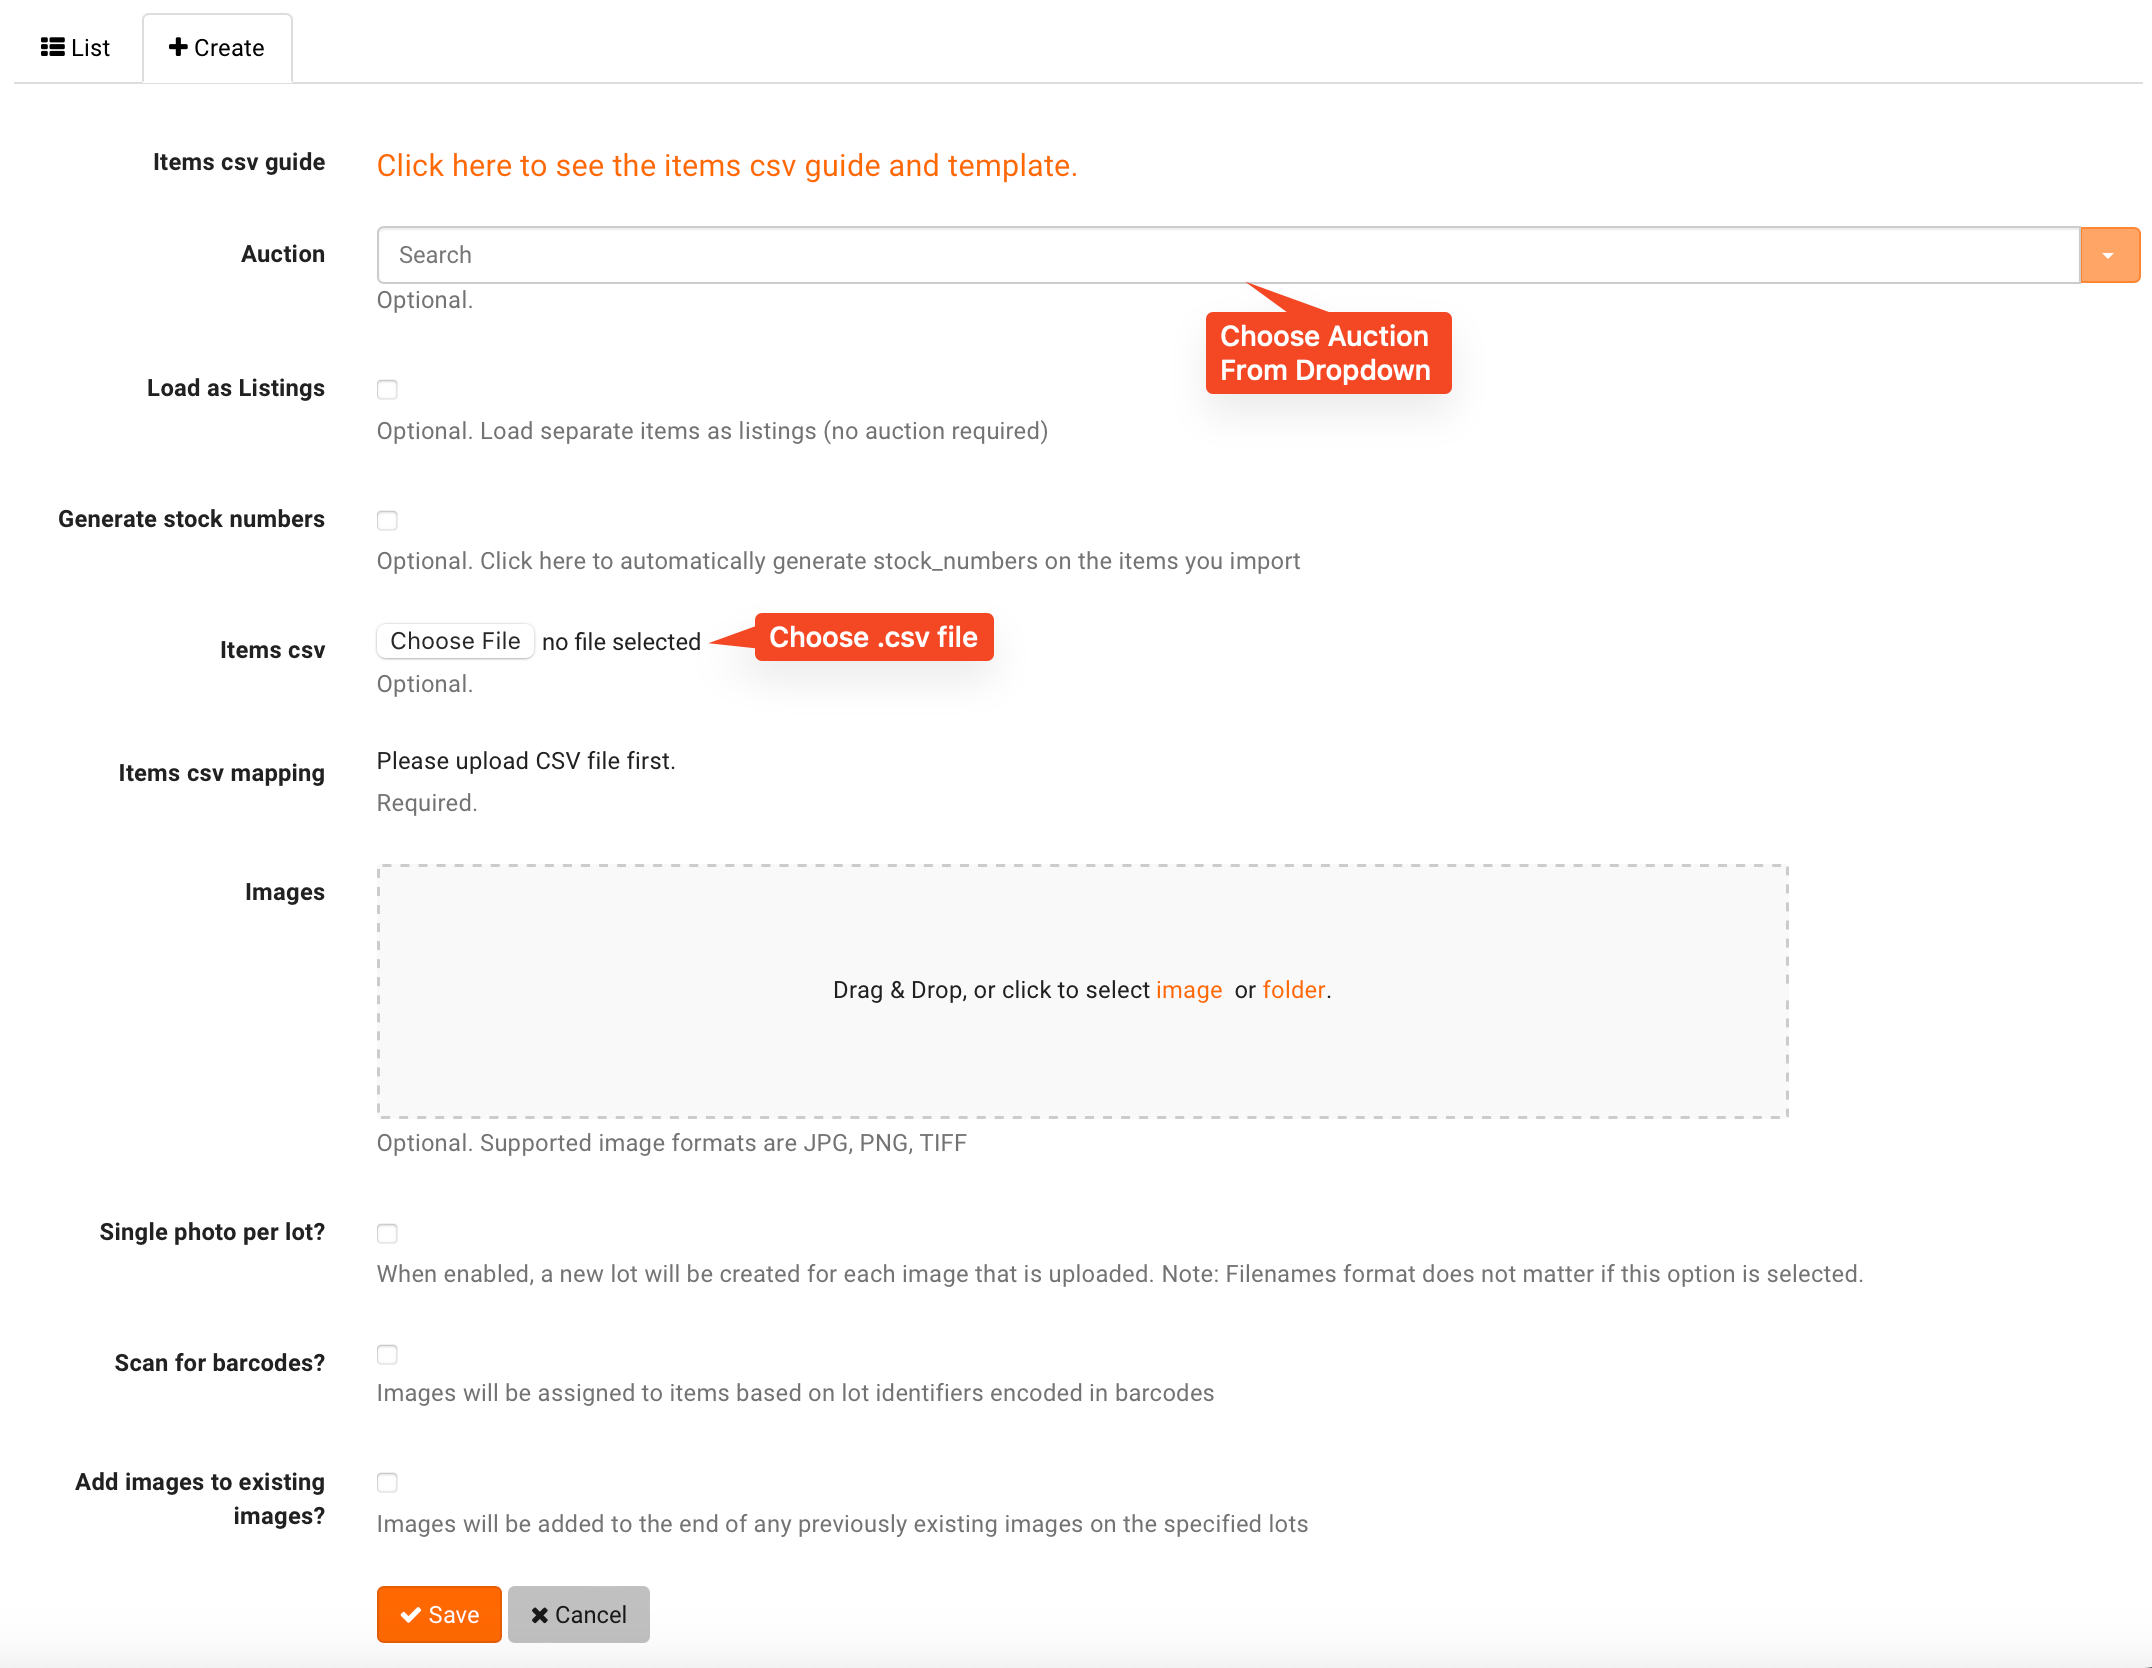
Choose the auction from the dropdown field, and then if you are importing items alongside your image import, click "Choose File" next to the "Items CSV" button
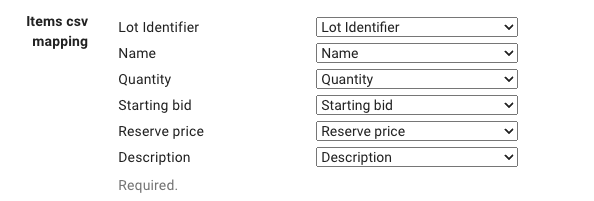
Once you have uploaded your .csv file, make sure your column names are mapped correctly. If the names are similar or identical the mapping choices, these fields are often associated/mapped to the column headings in the .csv correctly from the start. If a mapping to a column is missing, select a mapping/field from the dropdown menu on the right, and match it to the associated column heading in the .csv. Ignore columns by choosing the blank mapping option.
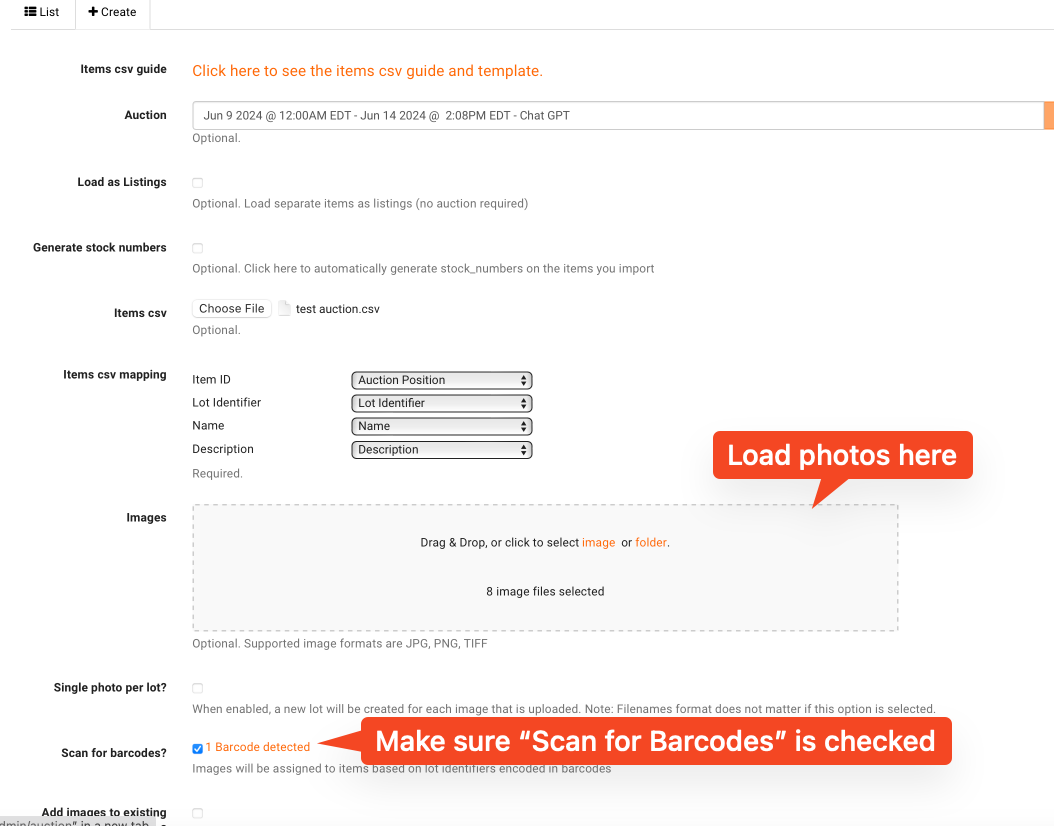
For importing images via barcode, within the "Images" drop zone, choose "image" or "folder". Select the photos with barcodes that you would like to upload.
Enable "Scan for Barcodes".
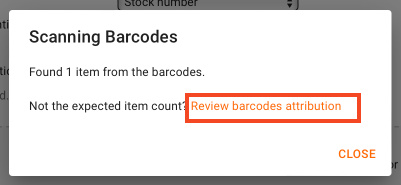
When you check "Scan for Barcodes" you will see the following popup that indicates how many barcodes were detected in the photos that you have uploaded. "Review barcodes attribution" allows you to find barcodes that were missed, as well as correct those that were misread. Even if the expected number of barcodes is found, it may save time by reviewing them.
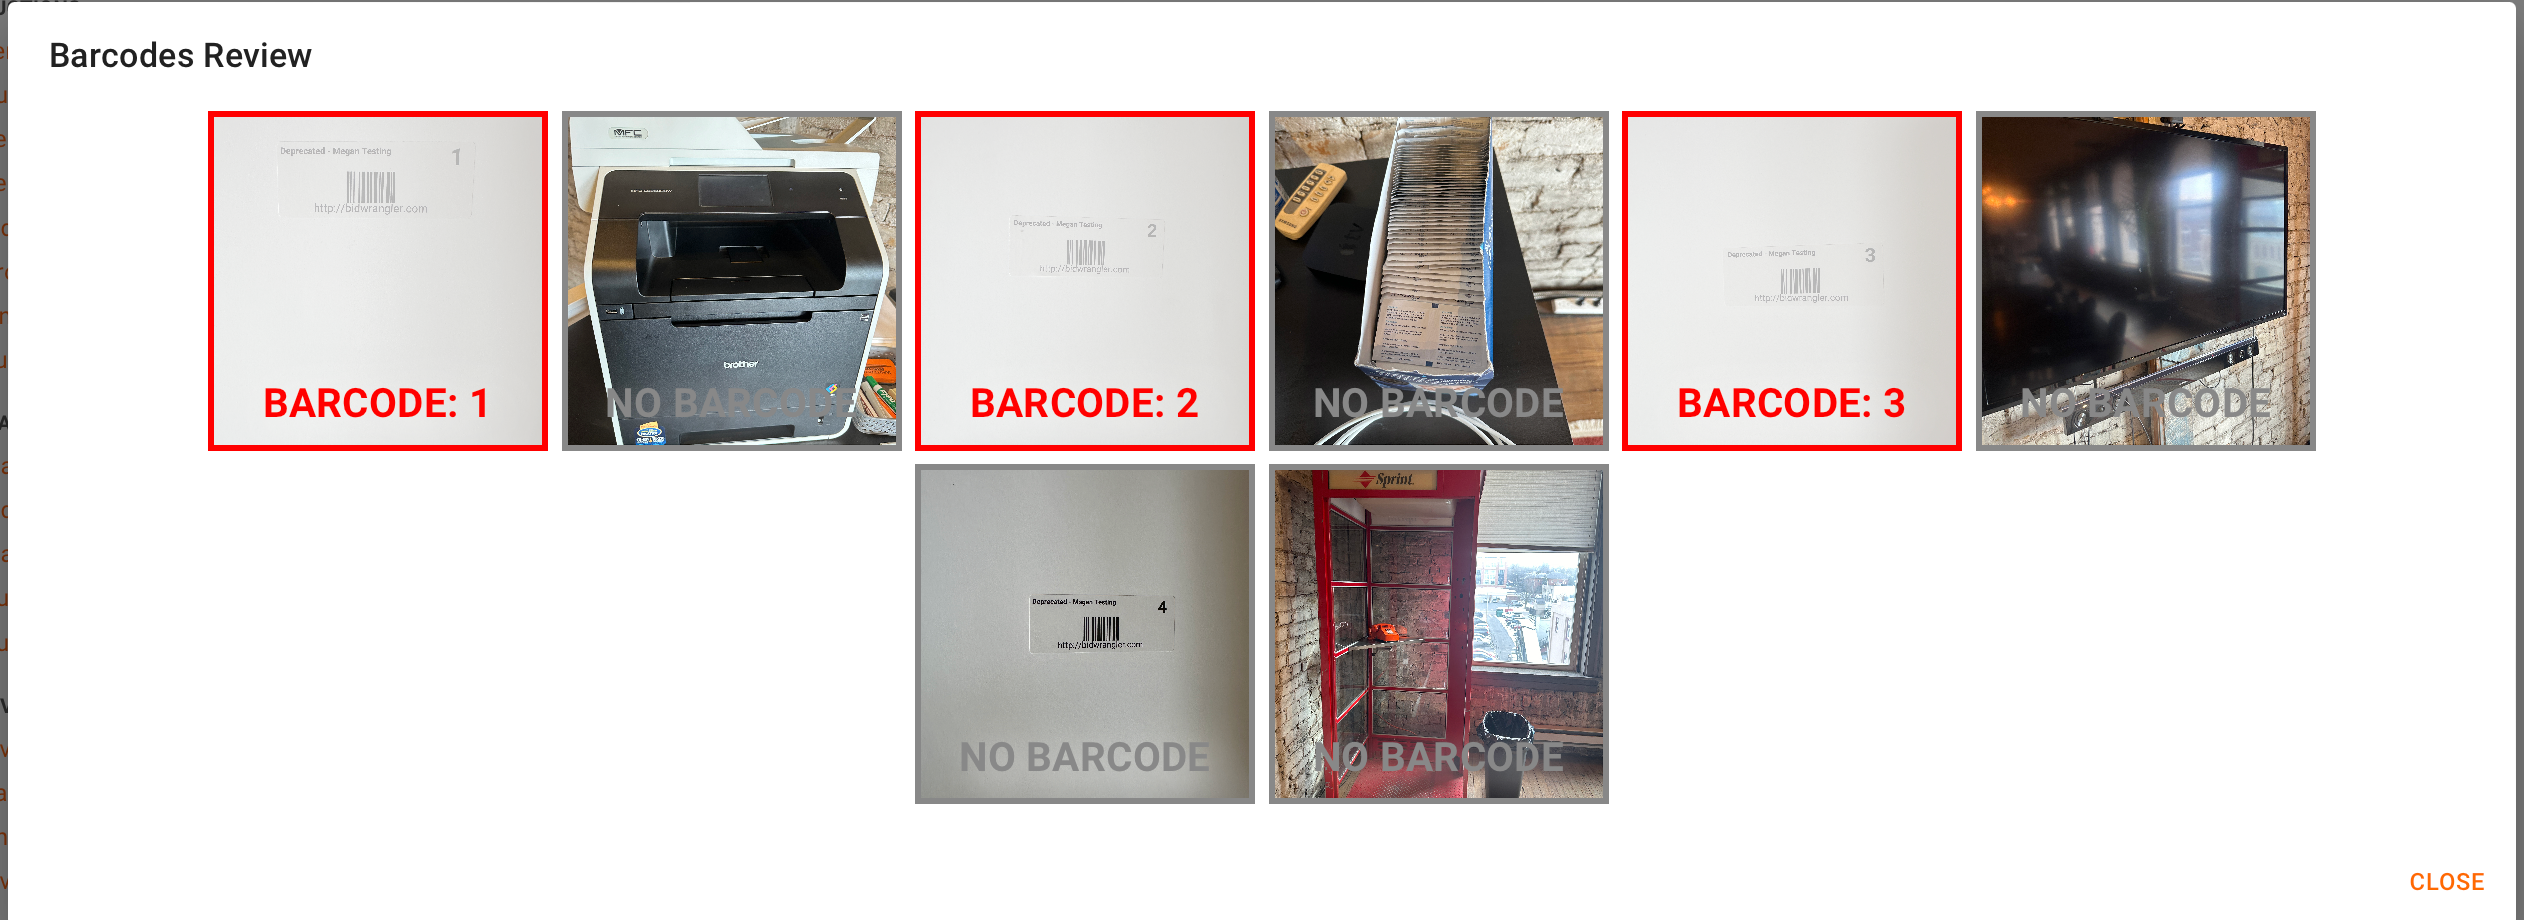
Below is a screenshot from the Barcodes Review screen. Note in this example that the first three barcodes were successfully recognized, but the fourth barcode was not detected.
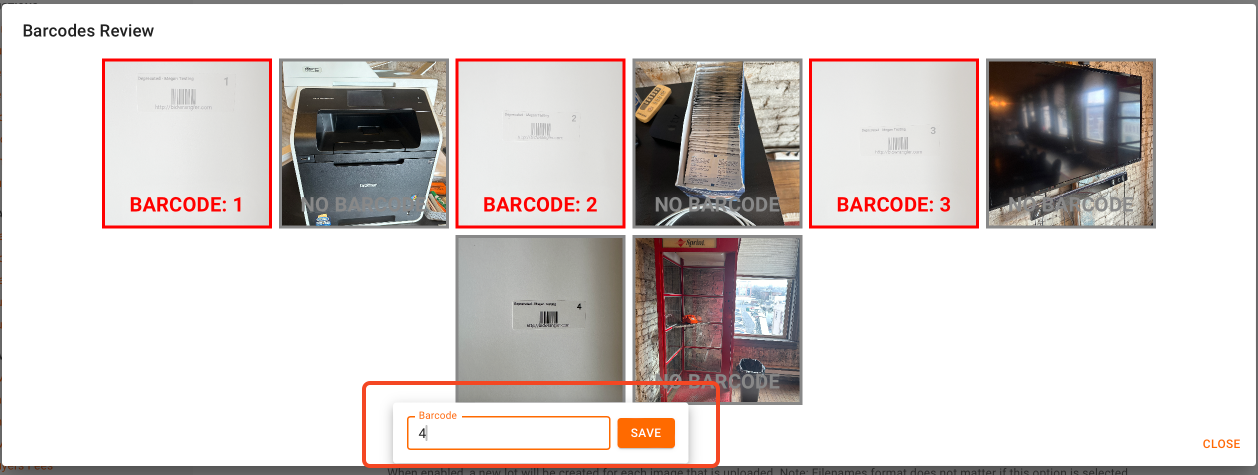
In order to mark this photo as a barcode, click on the photo to assign the correct lot number and hit save.
Once you are done reviewing barcodes, click on "close"
Then click on "Save" at the bottom of the import page to begin the import process
The import is then processed in the items import screen. You can refresh the page to see import progress
The auction has now been uploaded, with photos associated with the proper lot. You can make any changes to the images from the photo manager screen, as explained in this article:
https://support.bidwrangler.com/article/272-how-do-i-use-the-new-photo-manager-screen

