How do I manage Seller Settlements?
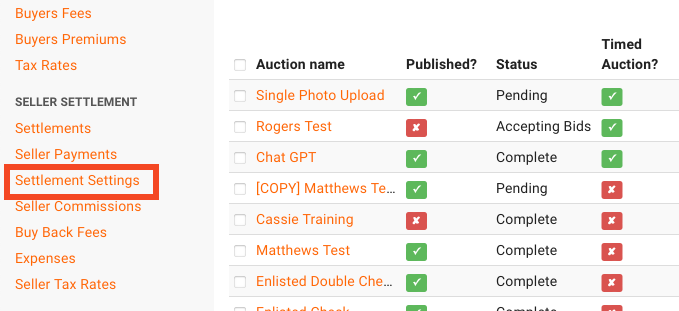
Start by clicking on "Settlement Settings" from the admin portal.
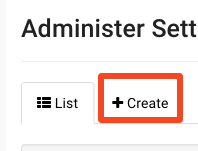
Click on the "Create" tab.
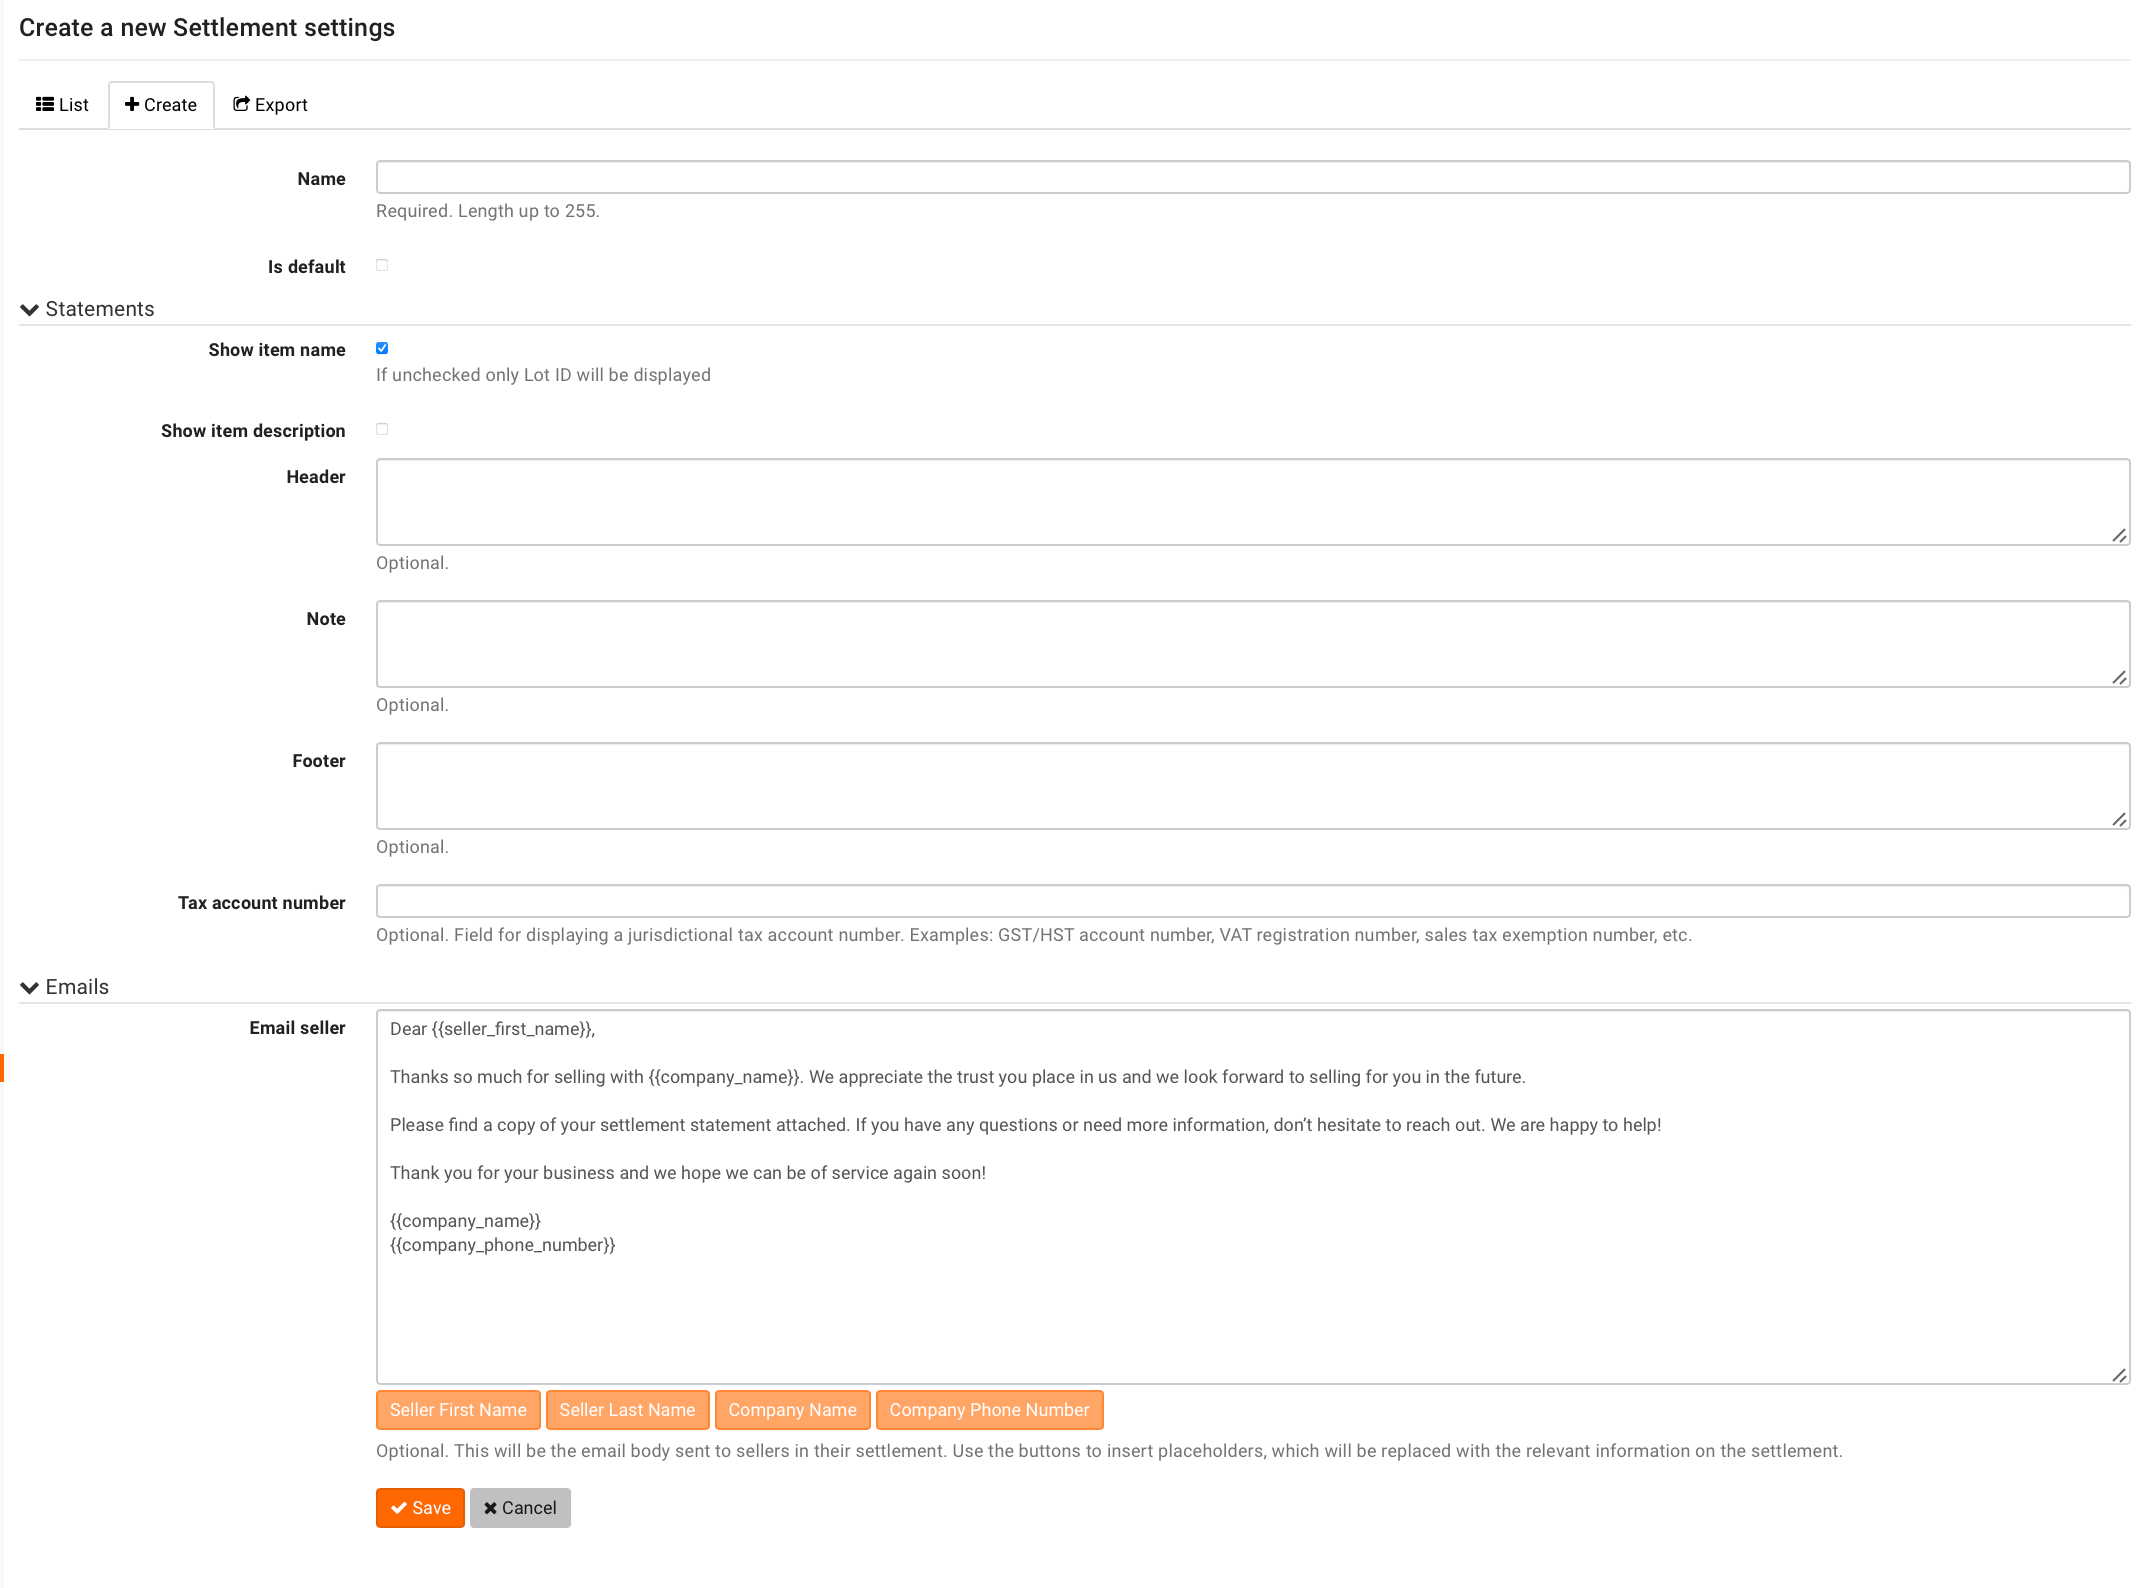
Configure your settlement settings here. You can use the "Header," "Note," and "Footer" fields to customize the appearance of the settlement, and use the "Email seller" field to customize the email that is sent to sellers along with their settlement. Configure your settings, and then hit save.
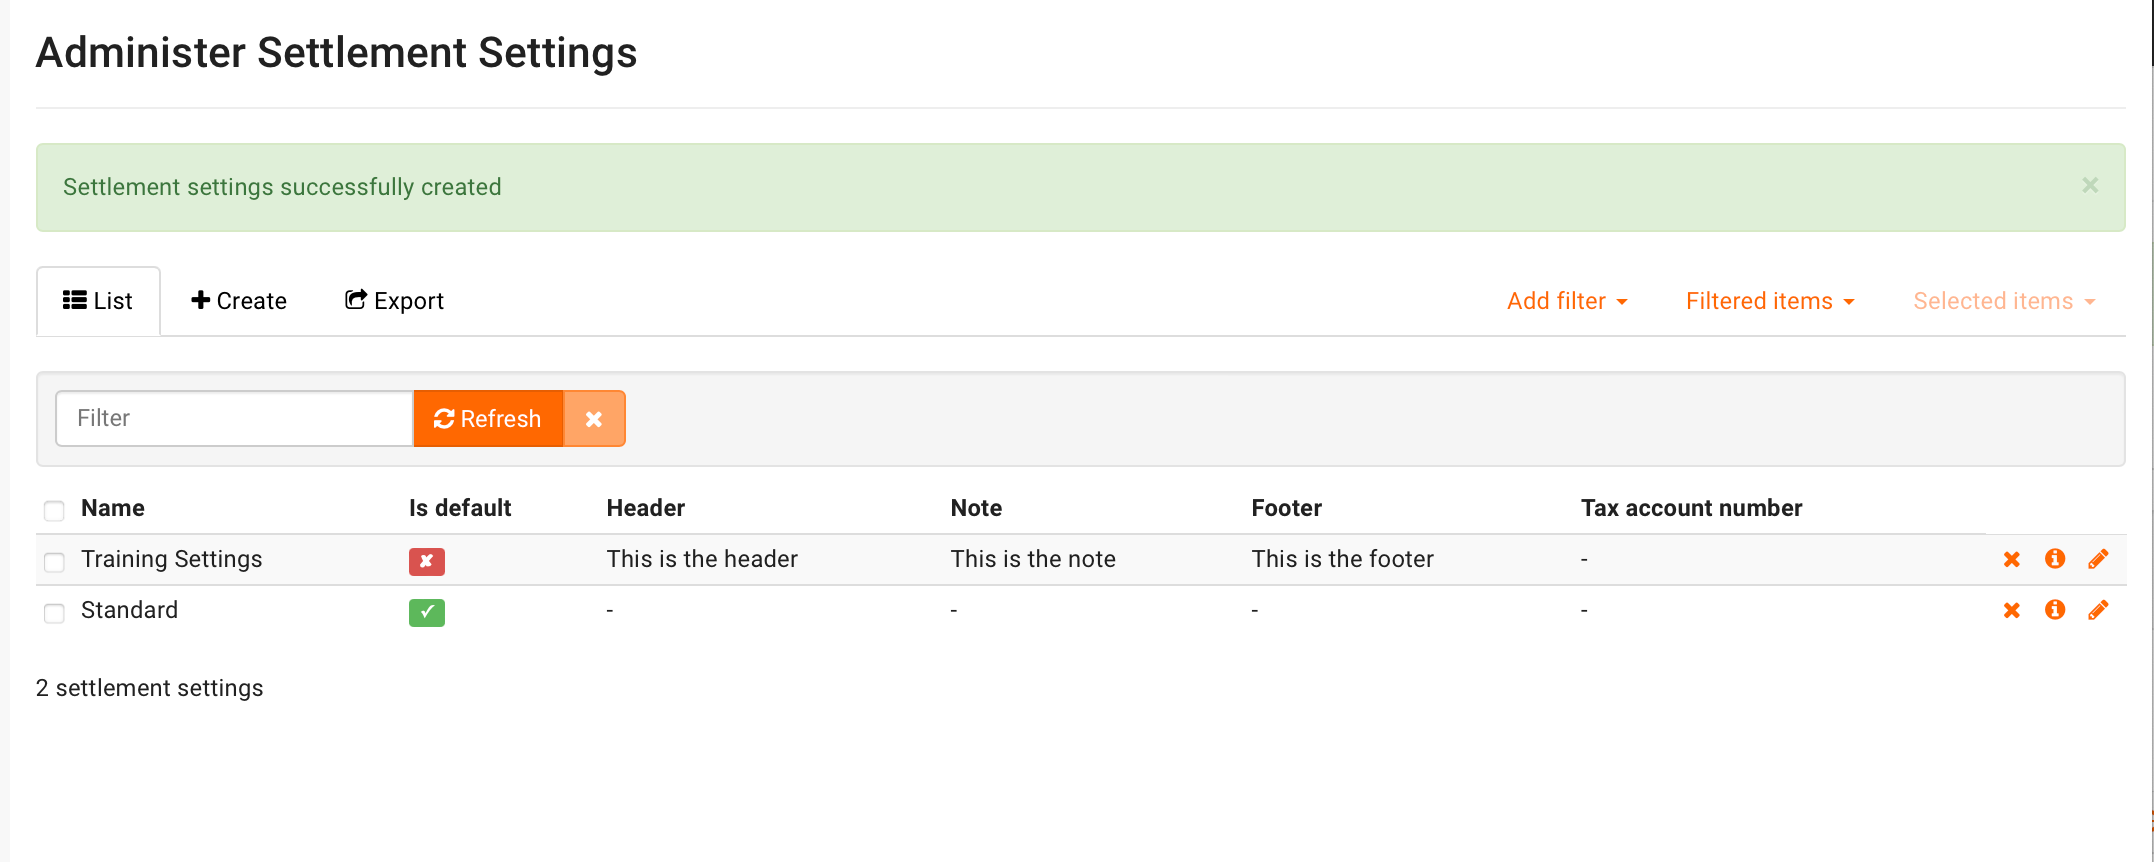
After you hit save, you will be taken back to the Settlement Settings page which contains a list of all of your settings. You can export these settings if you choose, or mark one as default.

If you don't mark a set of settlement settings as default, you'll have to edit the auction to enable these settlement settings. To do so, edit the auction, scroll down to the Seller Settlement section, and choose the correct settlement settings from the dropdown.
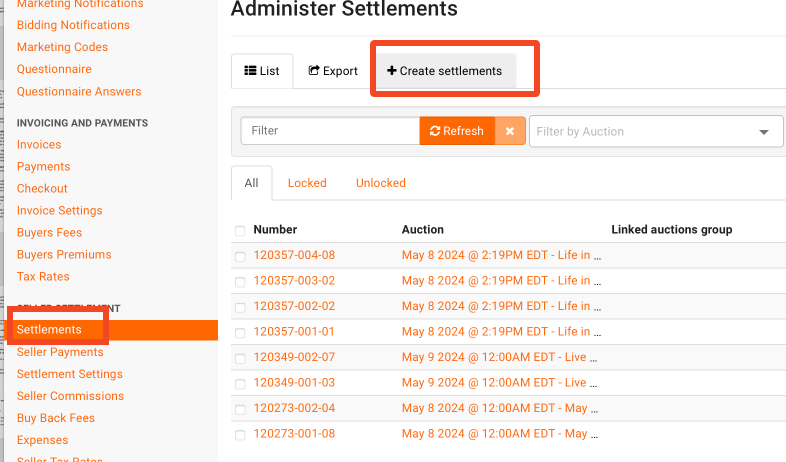
Once the auction has concluded, navigate to "Settlements" and click "Create Settlements"
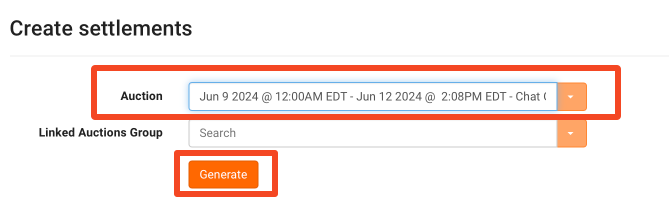
Choose the appropriate settlement settings from the dropdown and hit "Generate."
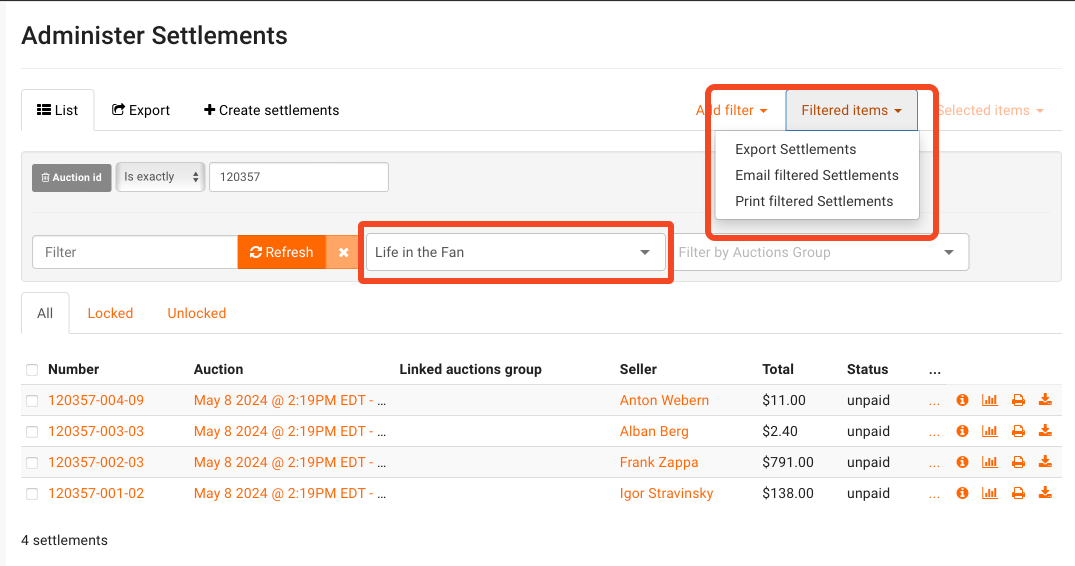
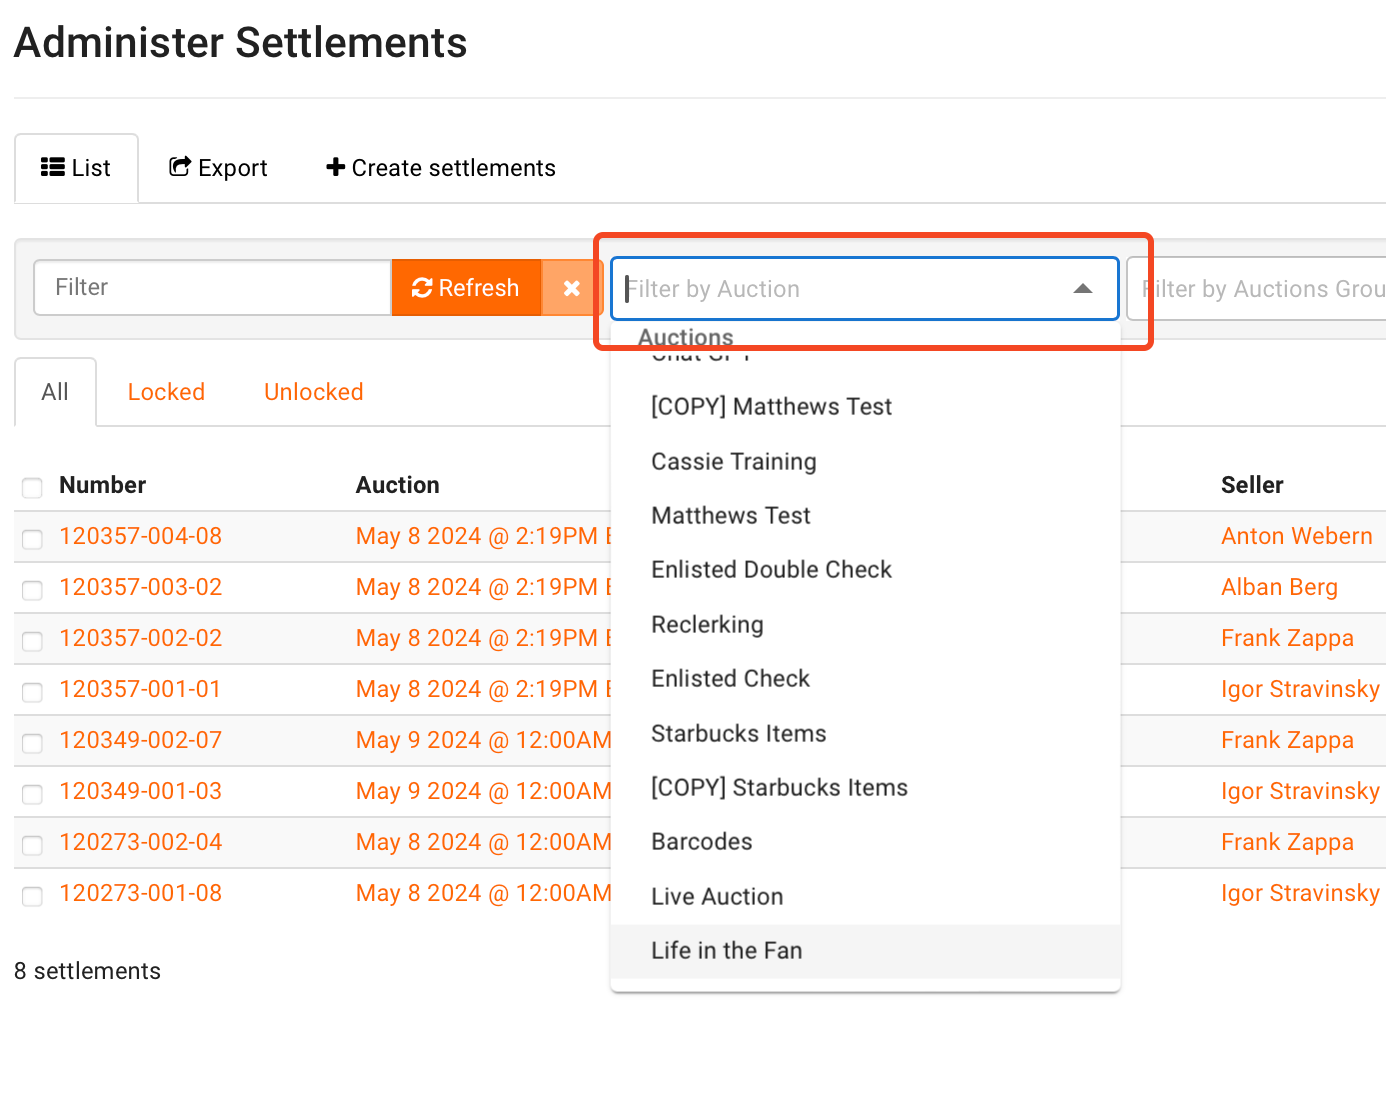
You have now created settlements and are returned to the "Settlements" page. By default, you will see a list of all settlements created. To filter settlements for a particular auction, choose the correct auction from the "Filter by Auction" dropdown
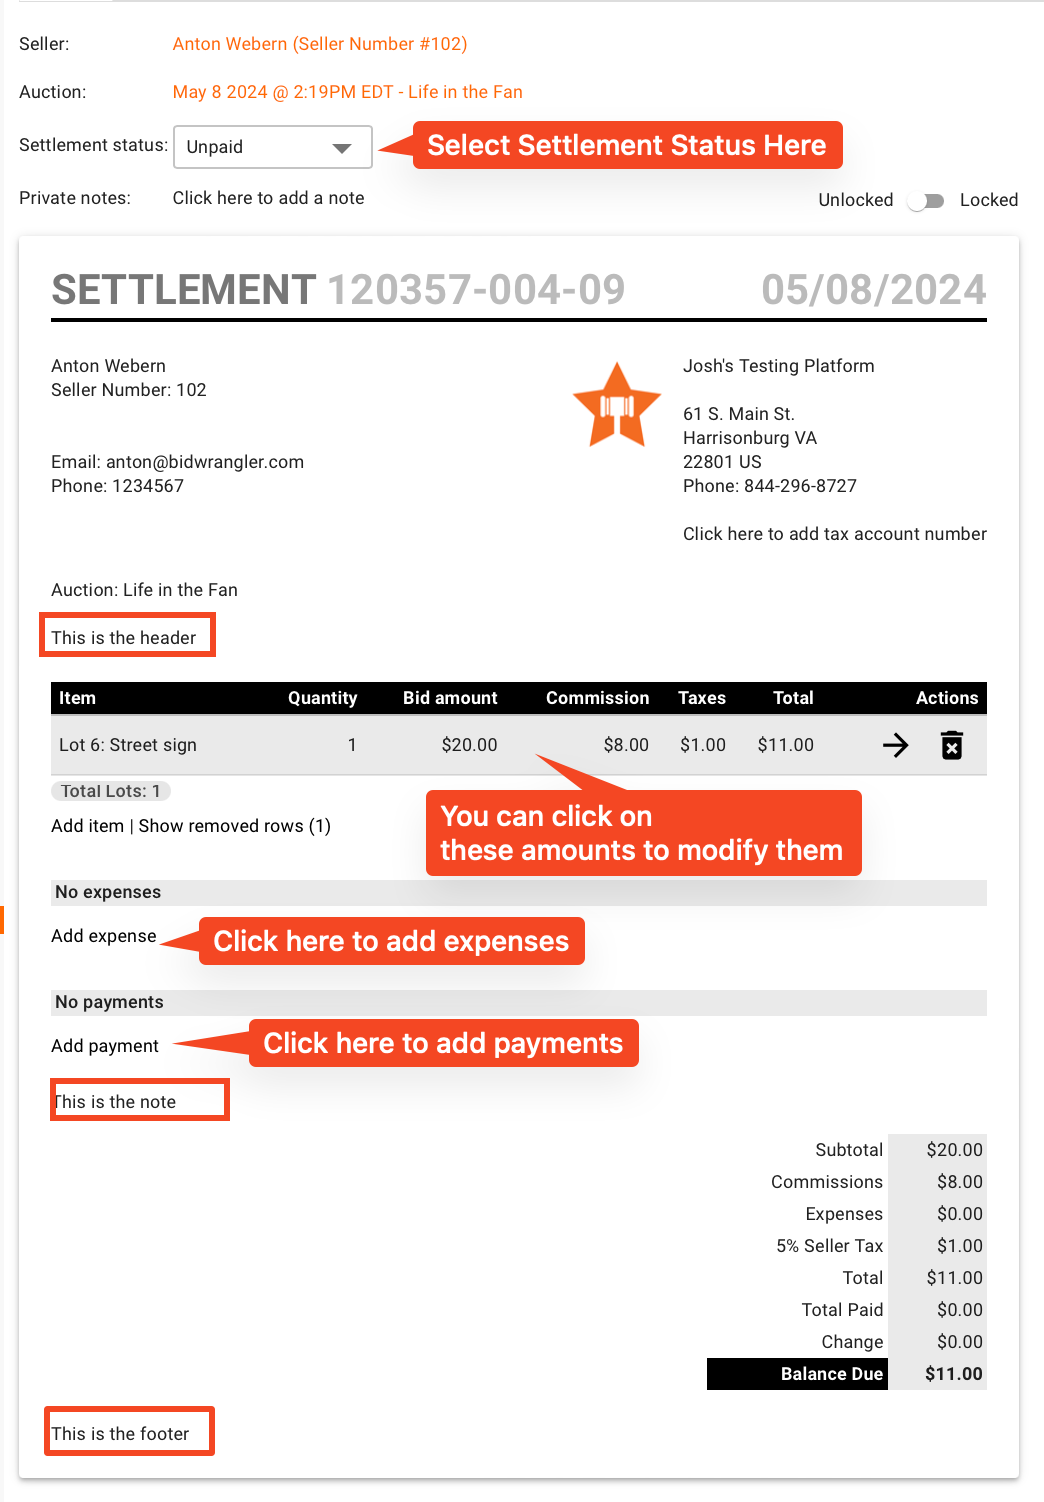
You will now see a list of settlements for that particular auction. Click on any settlement number to view the settlement. From the settlement page, you can easily add expense or payments
From the settlements page, you can email, print, or export your filtered settlements