How Do I Use Seller Buy Backs?
There may be times when a seller (or the auction company) chooses to purchase or buy back items. This article will show you how buybacks work in BidWrangler, as well as how to assign a buyback fee.
The first step would be to link a buyer to a seller. Please review this article before continuing "How Do I Link a Buyer to a Seller?"
This guide will demonstrate how buy backs appear on invoices and settlements, and it will show you how to create a buy back fee and assign it to a seller.
Invoice Changes
Here are a few things to look at on invoices with buy back items:
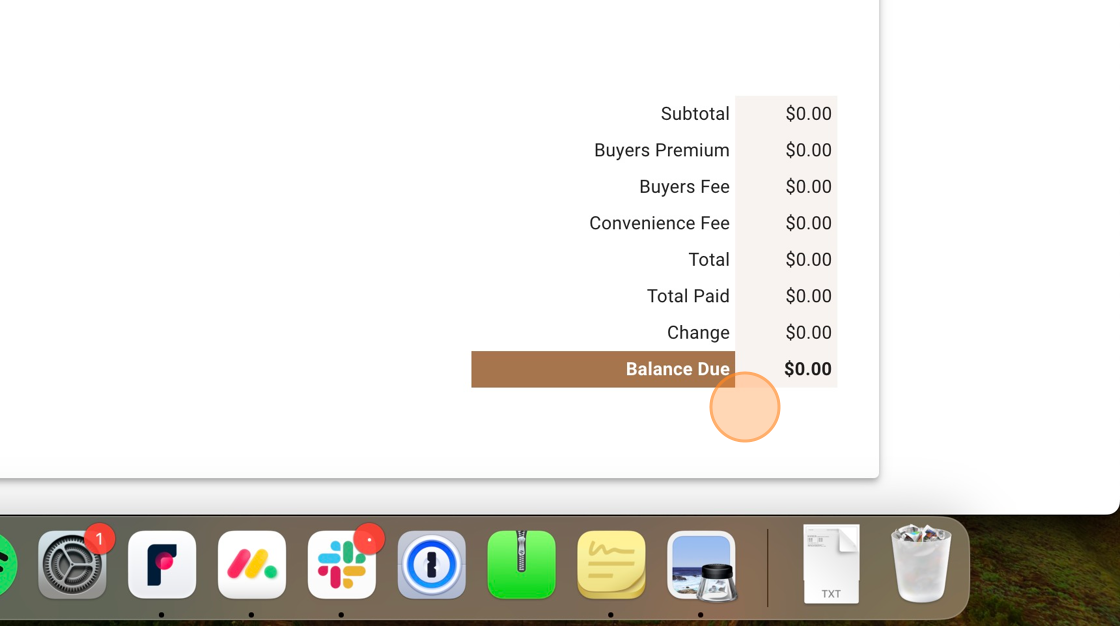
1. On the left-hand side: each item will be marked with a (Buy Back) label. On the right-hand side: the 'Buyers Premium', 'Taxes', and 'Total' columns will be equal to zero.

2. The invoice will be marked as paid with a balance due of zero dollars. This is great because now we will see all of the charges to this seller in one place - the seller's settlement!
Settlement Changes
There are a few changes in the settlements:
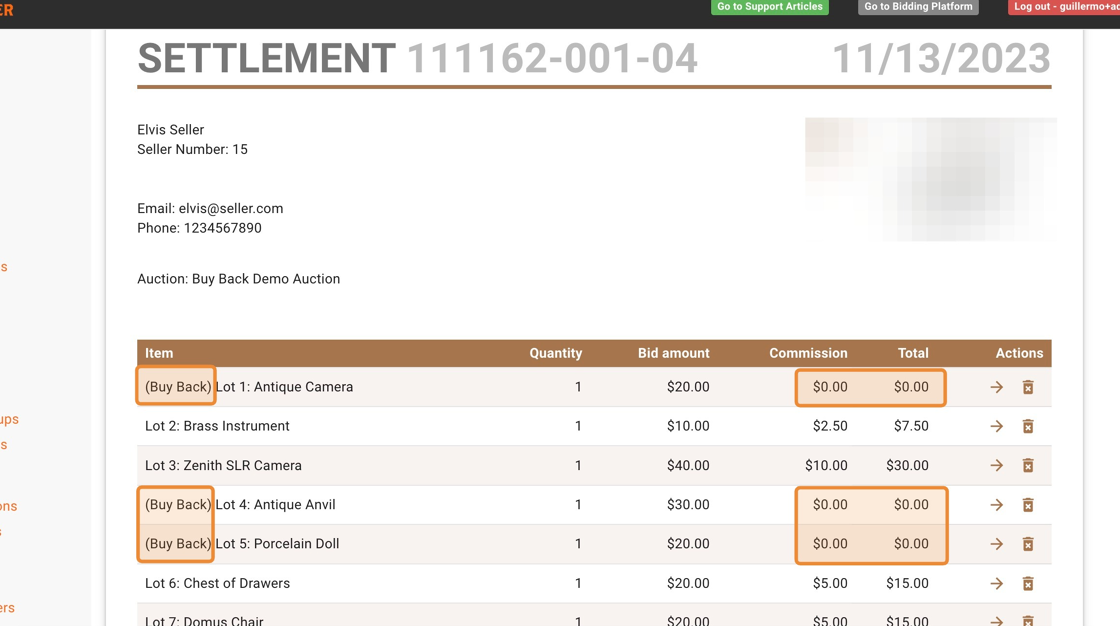
1. Items will be labeled as (Buy Back) when they are bought by the seller. Additionally, the 'Commission' and 'Total' columns for buy back items will be equal to zero.
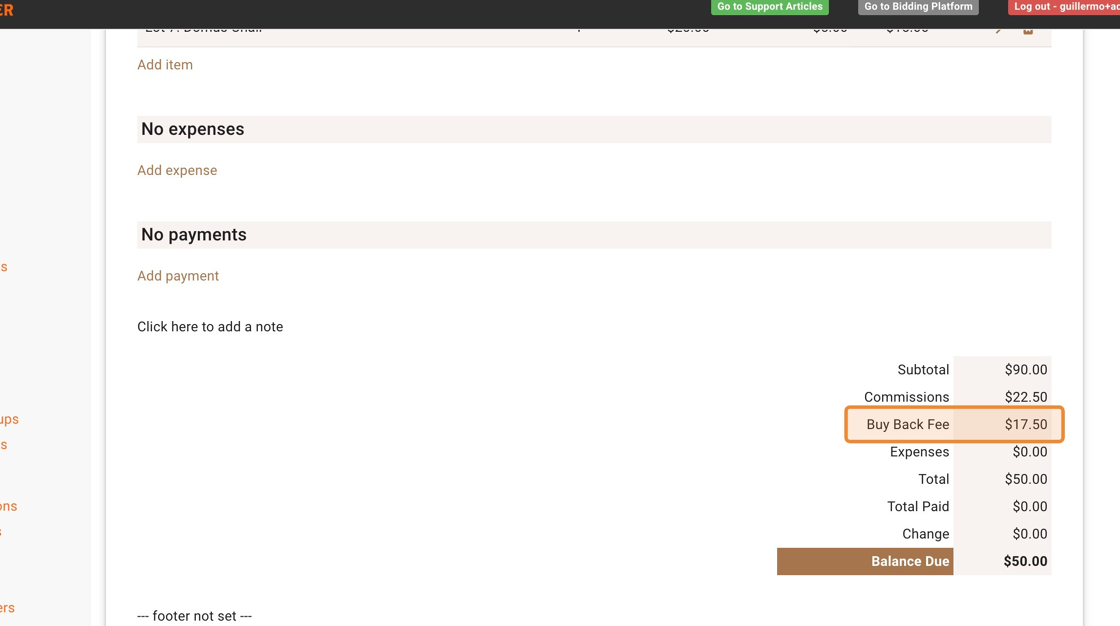
2. On the lower portion of the settlement, you will see the buyback fee amount. In this example, we used a 25% buy back fee on the hammer price of each buy back item. (You can choose to do a flat fee on each item instead)
Creating a Buy Back Fee
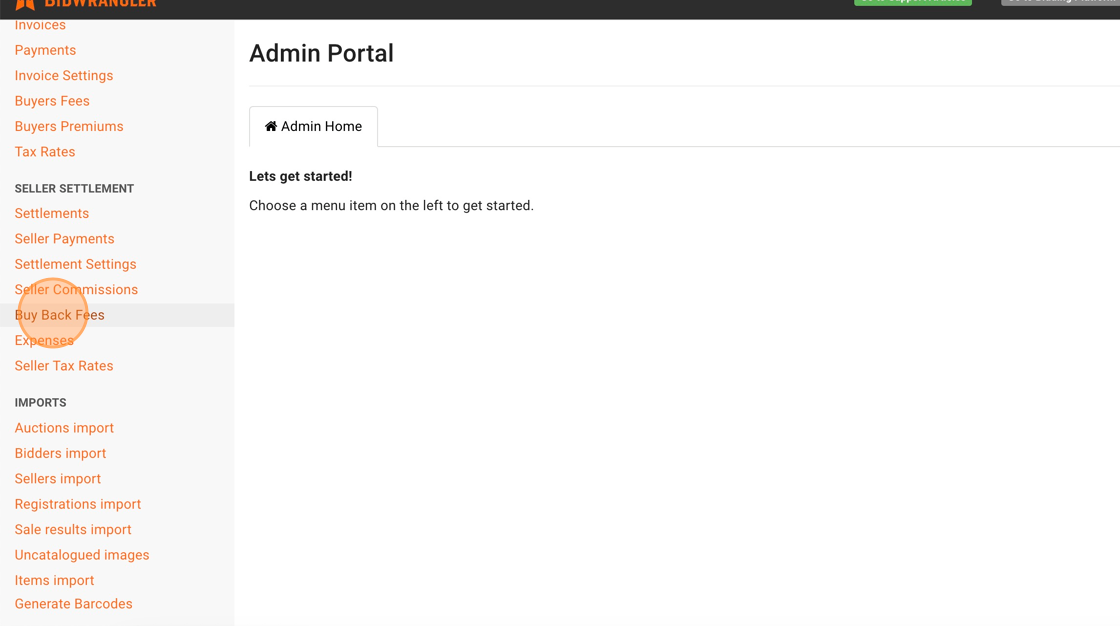
1. Click "Buy Back Fees" on the left-hand side menu.
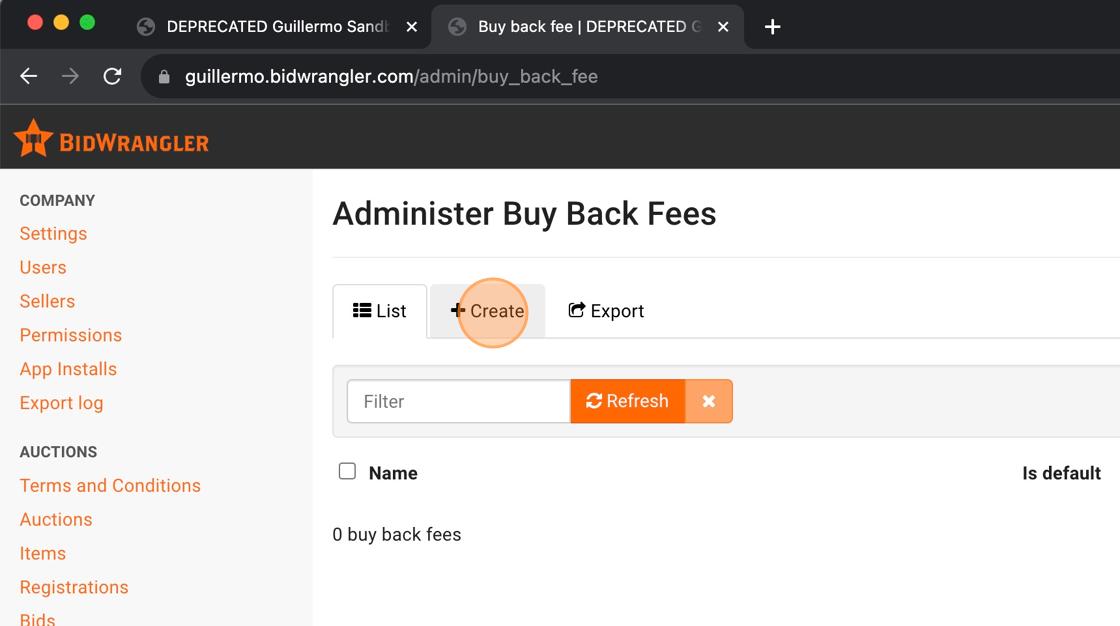
2. Click "Create"
3. Use a descriptive name, and enter the flat fee OR percentage of the hammer price that you want to apply (to each lot). Lastly, click save.
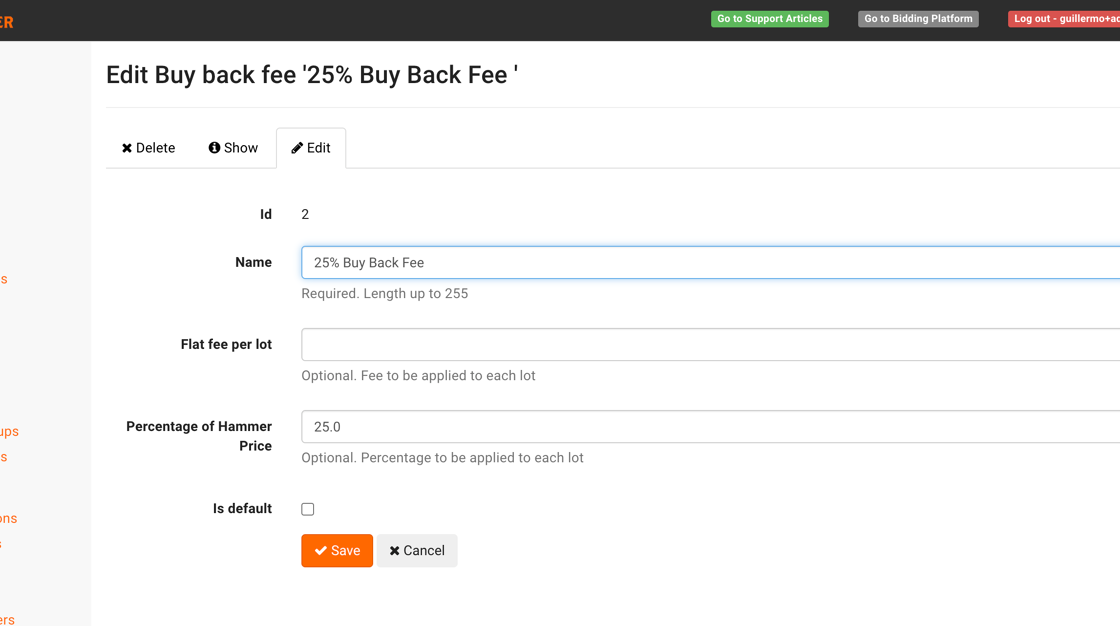
Tip: If you enable the "Is default" setting, then all the sellers without a fee assigned will be charged this fee IF they perform a buy back.
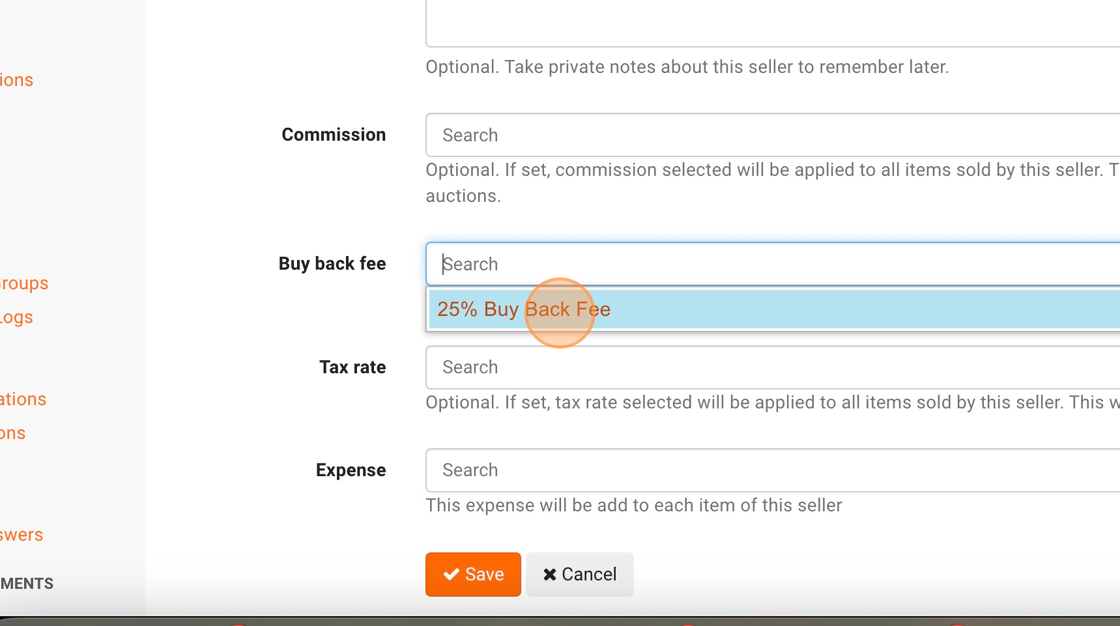
Assigning the Fee to the Seller
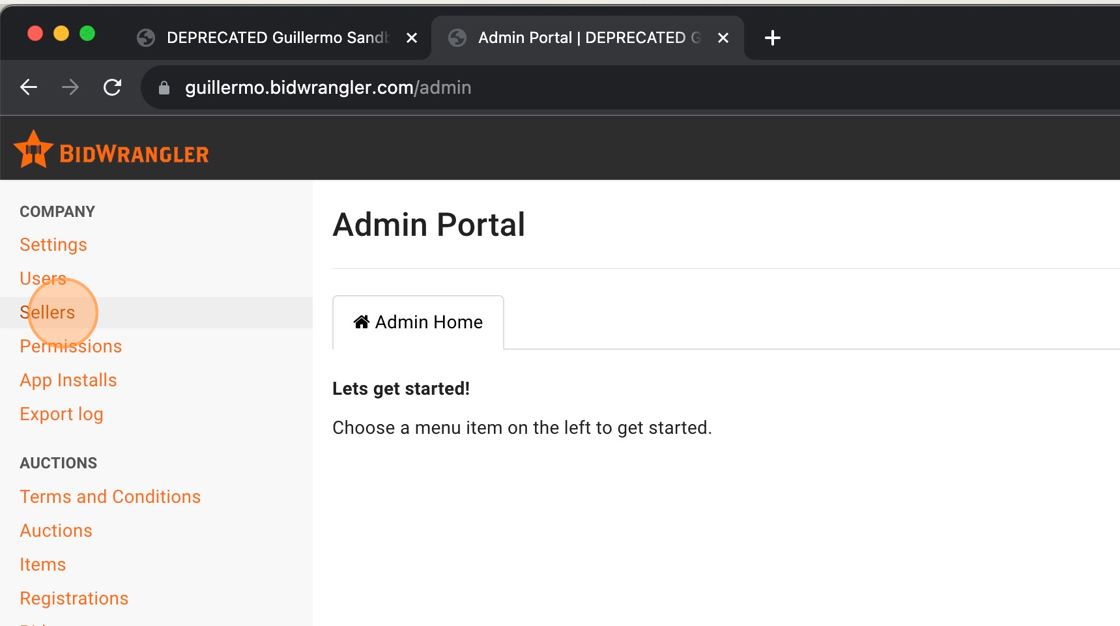
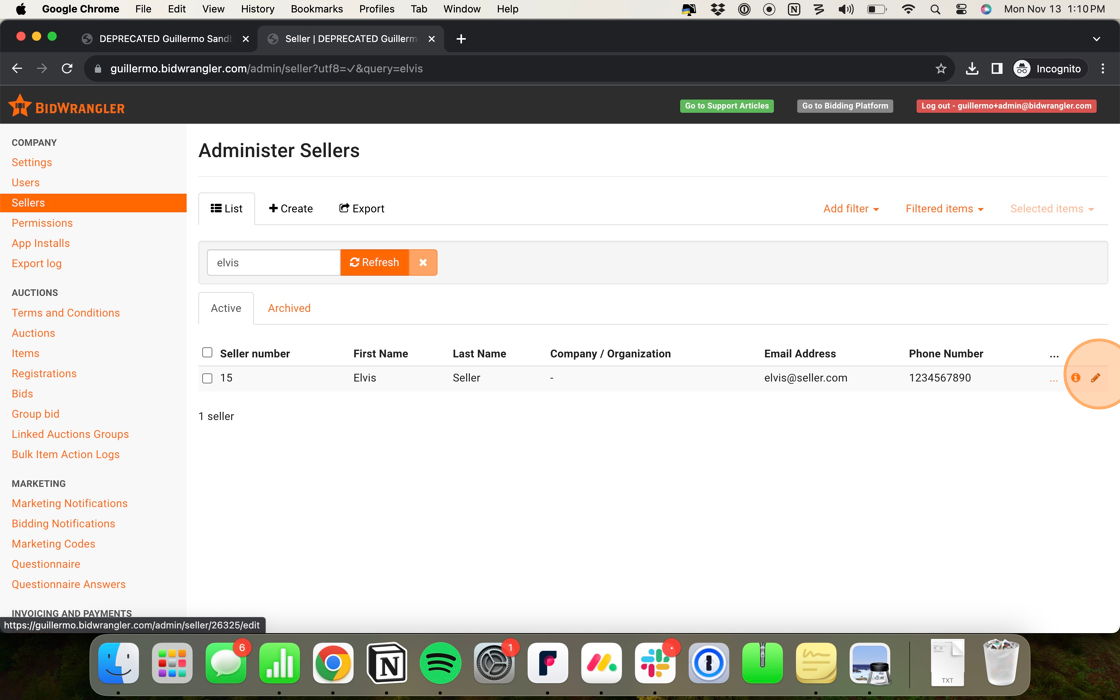
1. Click the "Sellers" link
2. Search for your seller and click on the edit pencil
3. Click the buy back fee drop-down, and select one of the available fees. Lastly, click "Save"